
The main draw being, you can just put it straight onto your existing counter tops. We built ours from scratch, but if you were doing this in a kitchen, I think you'd just key the surface of the laminate or formica first.
I've put together my DIY, but please note, at this stage, it's only for photo shoot purposes and I haven't completed the sealant step yet. I'm really pleased with the finish of it and found it so easy to use that it's definitely going to be the next project we do in our house.

The first thing we did was build a wall for our backdrop.


Painted the wall.

These were the tools I used to mix and spread the concrete.
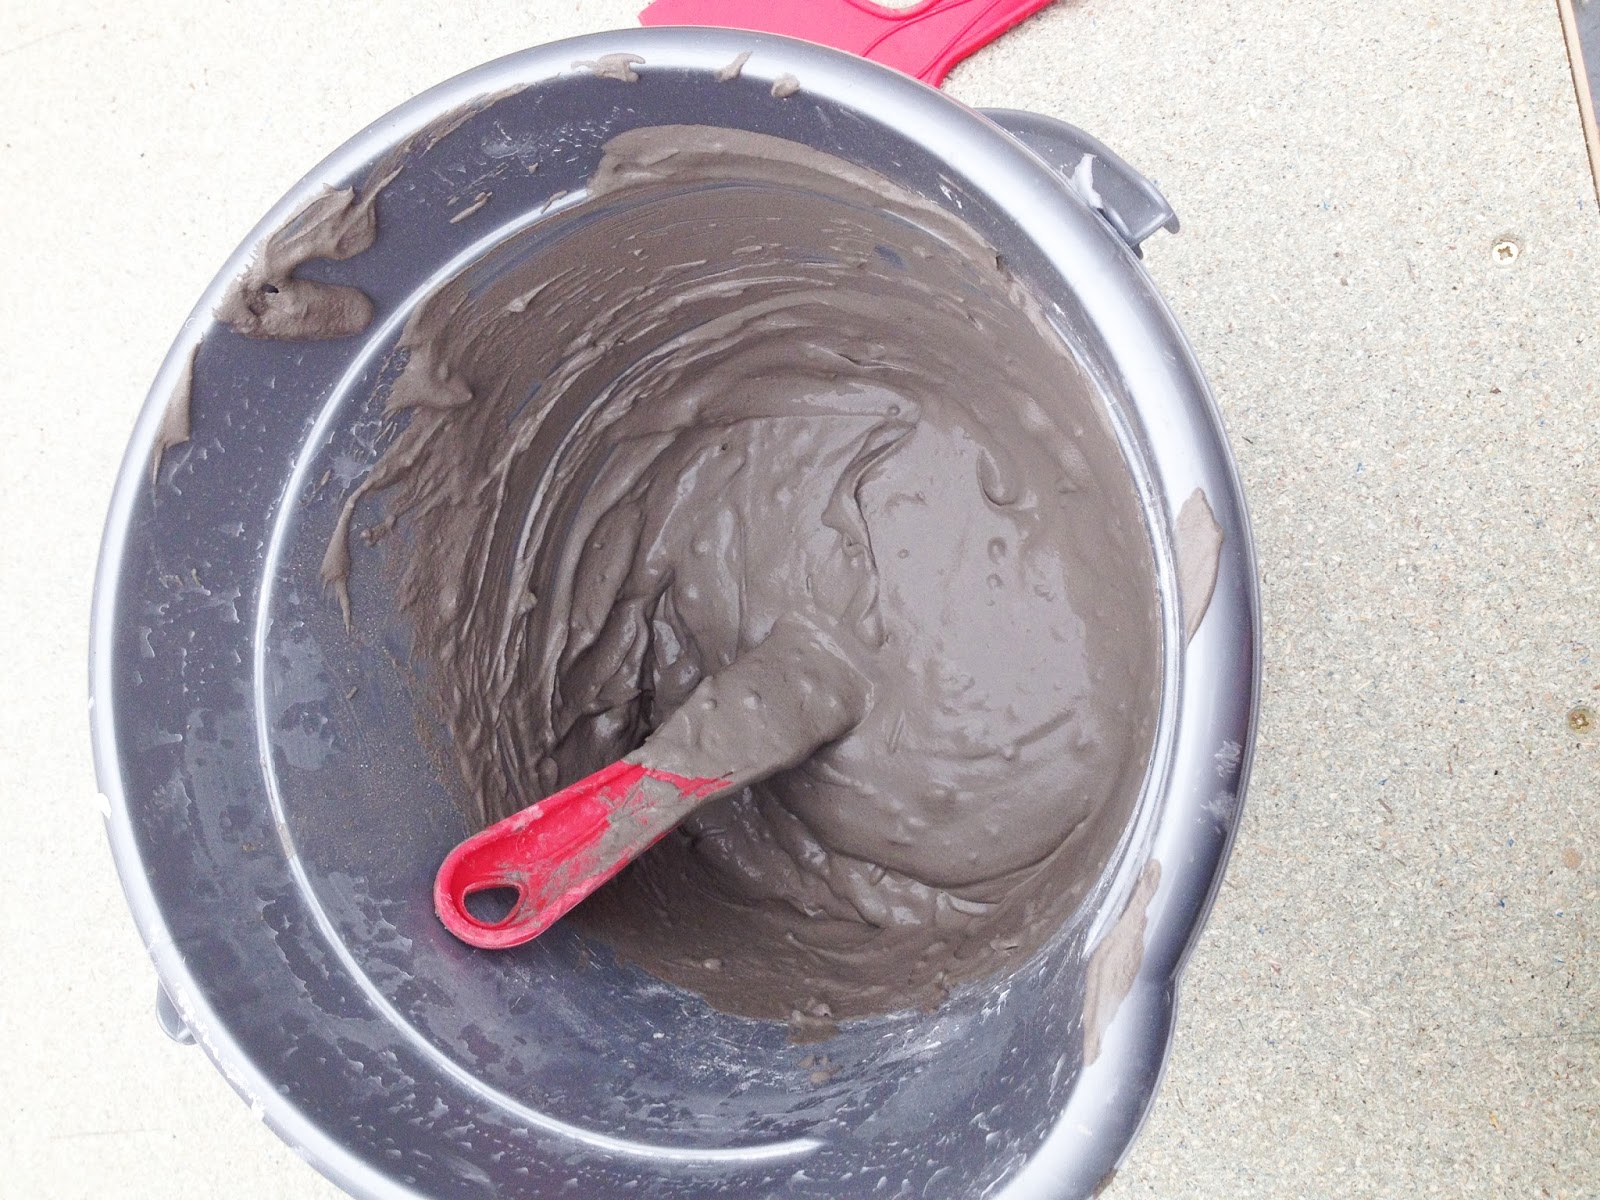

I pretty much emptied the bucket over the counter first as it enabled me to spread it quicker. I used really thin layers as I found it easier to manage.


At this drying stage, I used a damp sponge and wiped over the whole surface, it meant less time sanding. It probably made the layers thinner, but I think it helped the overall look and I will definitely do this step again when I'm making the counter tops in my house.

Once it's dry, sand it down! This was my favourite part as you can really start shaping the corners if you need to. ( I rushed mine a bit as some patches aren't dry yet, but I don't think it caused any problems. )

A sanded, smooth (ish) edge.
Repeat with another few layers. I think I will do 5 or 6 thin layers in my kitchen.
That's as far as I needed to go for my photo shoot counter top! But I found this brilliant tutorial during my research, it might help with the next step -sealing the countertop.
For now, here are my concrete countertops! And last but not least, the world's greatest plate racks!


